© Brighteon.com All Rights Reserved. All content posted on this site is commentary or opinion and is protected under Free Speech. Brighteon is not responsible for comments and content uploaded by our users.

Description: Lens & Light
Narrated video of the visual assets (2nd edition) for the book: "Lens & Light" published on https://books.brightlearn.ai/Lens-Light-A-Beginners-Journey-Through-Photography-fde9a804b-En/index.html
The narrated video slides are in order and correlate to the chapters and subchapters of the book.
See "Chapters" section below for the complete narration script
Disclaimer Notice
This companion video and book are intended for educational and informational purposes only. The author and publisher are not liable for any damage, injuries, or losses resulting from the use of the techniques, equipment, or locations described herein.
Safety First: Always prioritize your safety and the safety of others when photographing. Be aware of your surroundings, especially near roads, water, or in unfamiliar environments. Respect private property and all applicable laws.
Equipment: Handling cameras, lenses, and accessories is at your own risk. The companion video and book may suggest third-party products or retailers but does not endorse any specific brand over another.
Artistic & Legal Responsibility: You are solely responsible for the images you create. Respect copyright laws, model release requirements, and individual privacy. The ethical application of photography is the photographer’s duty.
Photography is a subjective art; the principles here are foundational, but creativity knows no rigid rules. Enjoy the journey of learning.
© All rights reserved, Motts Media
Lens and Light: Narration Script
Chapter 1: Mastering Your Camera and Essential Tools
(Slide 1.0: Cover/Opener - Camera Evolution Timeline) Welcome to Lens and Light. Our journey begins with the evolution of the camera itself. This timeline illustrates the progression from the simple pinhole camera, through the classic film SLR, to the modern digital mirrorless camera, highlighting the sensor that captures today’s images.
(Slide 1.1: Understanding the Evolution - Pinhole vs Digital Sensor) At its core, photography is about recording light. On the left, we see light rays passing through a pinhole to create an inverted image, the fundamental principle of photography. On the right, a modern digital sensor with a grid of photo sites, or pixels, performs the same function, capturing light to create a digital image.
(Slide 1.2: Choosing the Right Camera - Flowchart) What are your primary needs? This flowchart helps you decide. For ultimate portability and social sharing, a smartphone is ideal. For travel-friendly simplicity, consider a compact camera. If you need lens versatility and professional features in a smaller body, a mirrorless camera is a great choice. And for a traditional optical viewfinder and long battery life, the DSLR remains a powerful tool.
(Slide 1.3: Demystifying Camera Brands - Personality Matrix) Navigating camera brands can be confusing. This matrix helps clarify their personalities. Brands like Fujifilm are known for their retro style and color science, blending innovation with user-friendly design. Sony is a tech-first innovator, pushing the boundaries of what’s possible in a pro-oriented package. Canon offers a legacy of heritage and reliability, while Nikon is known for its precision and durability, both appealing to professionals who value tradition.
(Slide 1.4: The Anatomy of a Camera - Annotated Diagram) Let’s look at the anatomy of a modern camera. The viewfinder is where you frame your shot. The lens mount allows for interchangeable lenses. The mode dial lets you select shooting modes. The shutter button captures the image. The sensor records the light, and the LCD screen allows you to review your photos and adjust settings.
(Slide 1.5: Lenses Explained - Focal Length Comparison) Lenses are the eyes of your camera. A wide-angle lens, like a 24mm, gives you an expansive view, perfect for landscapes. A standard 50mm lens provides a natural perspective, similar to the human eye. A telephoto lens, such as a 200mm, compresses the scene and brings distant subjects closer, creating a tight focus.
(Slide 1.6: Aperture Unlocked - Depth of Field) Aperture controls both the amount of light entering the lens and the depth of field. A wide aperture like f/2.8 creates a shallow depth of field, blurring the background and isolating your subject. An f/8 aperture provides a medium depth of field, keeping more of the scene in focus. A narrow aperture like f/16 results in a deep depth of field, where everything from foreground to background is sharp.
(Slide 1.7: Shutter Speed Essentials - Motion Blur vs. Frozen Action) Shutter speed controls how motion is captured. A fast shutter speed, like 1/1000th of a second, freezes action, capturing a speeding cyclist in crisp detail. A slow shutter speed, such as 1/15th of a second, creates motion blur, conveying a sense of speed and movement against a sharp background.
(Slide 1.8: ISO and Sensor Sensitivity - Noise Comparison) ISO determines your camera’s sensitivity to light. At ISO 100, a low-light scene may be dark but the image is clean. At ISO 1600, the scene is brighter and perfectly usable. At a very high ISO like 12800, the image is bright but shows significant grain or digital noise, as seen in the magnified inset.
(Slide 1.9: The Exposure Triangle - Balancing Aperture, Shutter, and ISO) Aperture, Shutter Speed, and ISO form the Exposure Triangle. To achieve a correct exposure, you must balance these three elements. If you open the aperture to let in more light, you may need to compensate with a faster shutter speed or a lower ISO to maintain the desired brightness.
Chapter 2: Seeing Like a Photographer: Composition and Light
(Slide 2.0: Cover/Opener - Compositional Elements) Welcome to Chapter 2. Here, we learn to see like a photographer. This image demonstrates strong compositional elements, with leading lines and a subject placed according to the rule of thirds. The overlay traces the visual path our eyes follow, guiding us through the scene.
(Slide 2.1: The Art of Composition - Cluttered vs. Simplified) Effective composition guides the viewer’s eye. The image on the left is cluttered and chaotic, with no clear focal point. The simplified version on the right uses a clear visual path, leading the eye through the frame to a single point of interest, creating a more pleasing and impactful image.
(Slide 2.2: Rule of Thirds and Beyond - Grid vs. Centered) The Rule of Thirds, shown on the left, suggests placing your subject at the intersection of grid lines for a dynamic composition. However, centering your subject, as seen on the right, can be equally powerful, conveying symmetry, stability, and intimacy.
(Slide 2.3: Leading Lines, Framing, and Negative Space - Triptych) Here are three powerful compositional tools. Leading lines, like this road, draw the viewer into the image. Framing, such as shooting through this archway, adds depth and context. Negative space, the empty area around this small bird, helps the subject stand out and creates a sense of simplicity and scale.
(Slide 2.4: Focus and Sharpness - Shallow vs. Deep Focus) Focus directs the viewer’s attention. With a shallow focus, only the eyes are sharp, creating an intimate portrait where the background melts away. With a deep focus, everything from the foreground to the background is sharp, providing more context and detail.
(Slide 2.5: Understanding Light - Hard vs. Soft Light) Light has quality. Hard light, from the midday sun, creates sharp, defined shadows. Soft light, found in open shade or on a cloudy day, produces soft, diffused shadows and a more flattering look.
(Slide 2.6: Golden Hour and Blue Hour - Diptych) The time of day dramatically affects the light. Golden Hour, shortly after sunrise or before sunset, bathes the landscape in warm, glowing light. Blue Hour, the period just before sunrise or after sunset, casts a cool, blue tint over a scene, perfect for cityscapes with twinkling lights.
(Slide 2.7: Direction of Light - Four Lighting Patterns) The direction of light shapes your subject. Front light is even and flat. Side light creates drama and dimension. Back light can create a beautiful silhouette or rim light. Top light can produce dramatic shadows, often used for a moody effect.
(Slide 2.8: White Balance and Color Temperature - WB Variations) White balance corrects for the color of light. Here you can see the same scene with different white balance settings, from a cool, blue cast to a warm, yellow tone. The color temperature scale below shows this range, measured in Kelvin.
(Slide 2.9: Finding Your Subject - Genre Collage) What will you photograph? This collage showcases four popular genres to inspire you: a candid portrait, a majestic landscape, a detailed still life, and a decisive moment in street photography. Explore different genres to find what you love.
Chapter 3: From Capture to Creation: Developing Your Craft
(Slide 3.0: Cover/Opener - Physical to Digital Workflow) Welcome to Chapter 3. We now move from capturing images to creating finished works of art. This image visualizes the transition from organizing physical prints to managing a digital library, a core part of the modern photographer’s craft.
(Slide 3.1: The Digital Workflow - Flowchart) The digital workflow is a six-step process. First, you capture the image. Then, you import it to your computer. Next, you organize your files. The fourth step is to edit your photos. After editing, you export them for use. Finally, you share your work and archive it for safekeeping.
(Slide 3.2: RAW vs. JPEG - Editing Comparison) Should you shoot in RAW or JPEG? This comparison shows why it matters. Before editing, the two files look similar. But after a drastic exposure adjustment, the JPEG file shows banding and loses detail, while the RAW file, containing all the sensor data, recovers cleanly.
(Slide 3.3: Basic Post-Processing - Photo Improvement Steps) Post-processing can transform a good photo into a great one. This series shows a simple four-step process: starting with the original, we first crop for better composition, then adjust exposure and contrast, and finally, correct the white balance and vibrance for a polished result.
(Slide 3.4: Developing Your Photographic Style - Vision and Influences) Your photographic style is your unique voice. It’s a combination of your vision and your influences, including your use of light and shadow, your color palette, your choice of subject matter, the mood you create, and your compositional tendencies.
(Slide 3.5: Deliberate Practice - Assignment Prompts) To develop your craft, you need to practice deliberately. This moodboard offers some ideas for assignments: try shooting only in black and white for a week, focus on a theme like ‘shadows’, challenge yourself with manual mode, or master a compositional technique like leading lines.
(Slide 3.6: Finding Inspiration - Photographer Styles) Inspiration is everywhere. This bookshelf graphic shows how studying the styles of master photographers can inform your own work. See how a student photo is inspired by the decisive moment style of Henri Cartier-Bresson. Study the past to shape your future.
(Slide 3.7: Building a Portfolio - Curation Process) A strong portfolio is a curated selection of your best work. This graphic illustrates the process of funneling all your photos down to a select few, and then arranging them into a cohesive and sequential series that represents your unique style and skill.
(Slide 3.8: Sharing Your Work - Social Media Ethics) When sharing your work online, it’s important to follow ethical best practices. Always give credit to collaborators, provide context in your captions, use relevant hashtags to reach your audience, and engage respectfully with comments to build a community around your work.
(Slide 3.9: Continuing Your Journey - Learning Pathway) Photography is a lifelong journey of learning. This pathway shows how a beginner can progress by taking online courses, reading photo books, attending workshops, joining clubs, and pursuing personal projects. The path to mastery is a continuous adventure.

Saudi Arabia slashes oil output amid Hormuz crisis, fueling global price surge
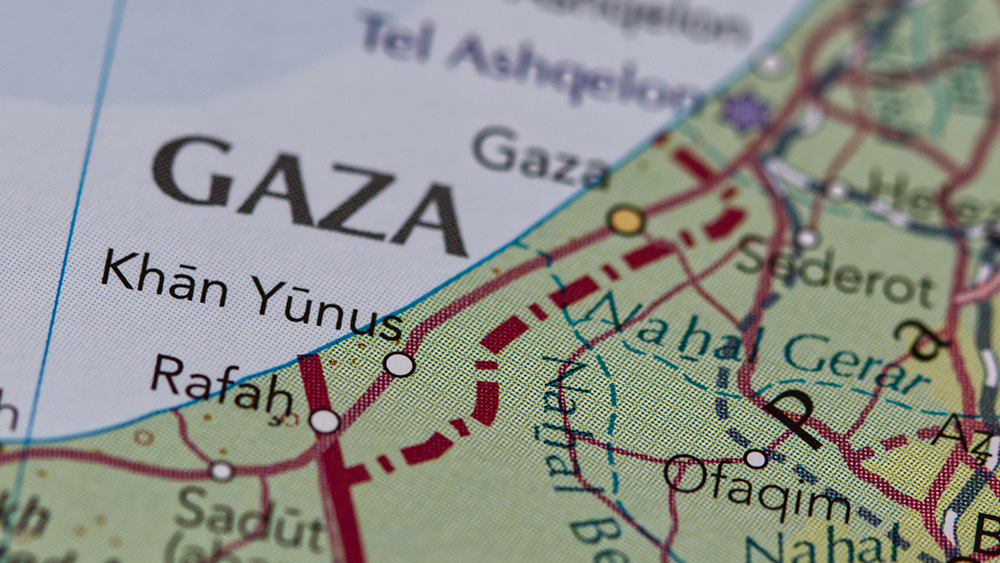
Hamas reasserts control in Gaza as Iran war diverts global attention
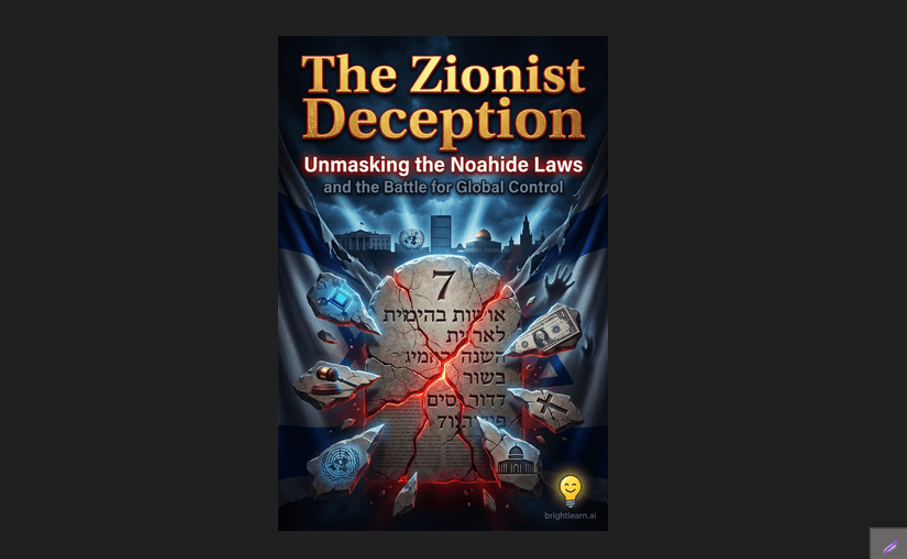
The Zionist Deception: How Noahide laws could decapitate Christianity and reshape global power

Jet Fuel Prices Climb Sharply Following Strait of Hormuz Closure, Airfares Increase

Catherine Austin Fitts warns: Strait of Hormuz shutdown signals “COVID 2.0” and engineered famine